It is easy to get lost in Minecraft while exploring or searching for resources, but a little forethought helps you stay oriented. This tutorial focuses on some of the easier ways of navigating Minecraft's landscapes.
Spawn Points
Every world has a set spawn point where players are placed when they first enter the game, and each time they die (see below about beds). The world has one spawn point, and all players spawn within a few blocks of that point. (Formerly, single-player games had a specific spawn point, but now they use the same system as multi-player.) In multi-player, the area around the spawn point is "protected", so that only server operators can build or destroy blocks there. Making a base too close to a multiplayer spawn area can also expose it to griefing, so in multi-player it's usually better to move some distance before settling in.
Each player can change their individual spawn point by sleeping in a bed. In versions 1.16, using a charged Respawn Anchor in the Nether also sets your spawn point. If the bed is removed, destroyed, or blocked, the spawn point is lost, and the player respawns near their world's original spawn point. A world's original spawn point can be found easily using a compass. Additionally, as of 1.16, compasses can be set to point toward a lodestone.
X, Y, and Z Coordinates
In Java Edition, F3 opens the debug screen, which includes the player's current coordinates in the world. All three coordinates are measured in "blocks", which are considered equivalent to meters of distance. These coordinates are interpreted as follows: X gives your distance east of the origin, and Z gives the distance south. Both of these can be negative, for positions west or north of the origin. The Y coordinate displays the altitude in meters, which is negative if seeing deepslate or in the rare case of falling through the void. Water level is at Y level 63. The spawn point is within a few hundred blocks of the map origin (X and Z of 0). The debug screen also shows what direction you are facing. It is displayed as North, South, East, or West. It is also displayed as a numerical value, though this is not always useful.
In Bedrock Edition, there is a world option that always shows the coordinates. They are measured in the same fashion as in Java Edition.
The simplest way to avoid getting totally lost is to write down the X and Z coordinates of your main base and other locations of interest. Then simply compare your current coordinates to the recorded coordinates and travel in the appropriate directions until the coordinates match. This method of navigation is particularly important for exploring the Nether. In Java, a convenient way to record coordinates in-game is to use F3 + C to copy your current position in teleport command form, then simply paste it in the chat (remove the /), optionally adding your own annotations.
Do note that many servers have the `reducedDebugInfo` gamerule enabled, which prevents these coordinates from appearing in the debug screen.
Directional Guides
Minecraft has an accurate system of cardinal directions.
- The sun and the moon rise in the east and set in the west. Their paths are always the same, and they are fixed against the stars.
- The stars turn counterclockwise around the north pole and clockwise around the south pole.
- Clouds always float west, and are visible above-ground during day and night.
Trail Markers
You may want to build your main base away from the world spawn point, and in that case, it's a good idea to construct a series of landmarks to follow, especially if the path is long. The use of trail markers is far more resourceful and time-efficient than building long roads. Place all trail markers in such a way so you can always see two markers from the one you are standing at: the marker you came from, and the marker you are heading to. This prevents you from losing the trail. It is also advised to have the markers placed or designed in such a way that you always know which direction leads to the origin of the trail. Here are some methods of marking the trail:
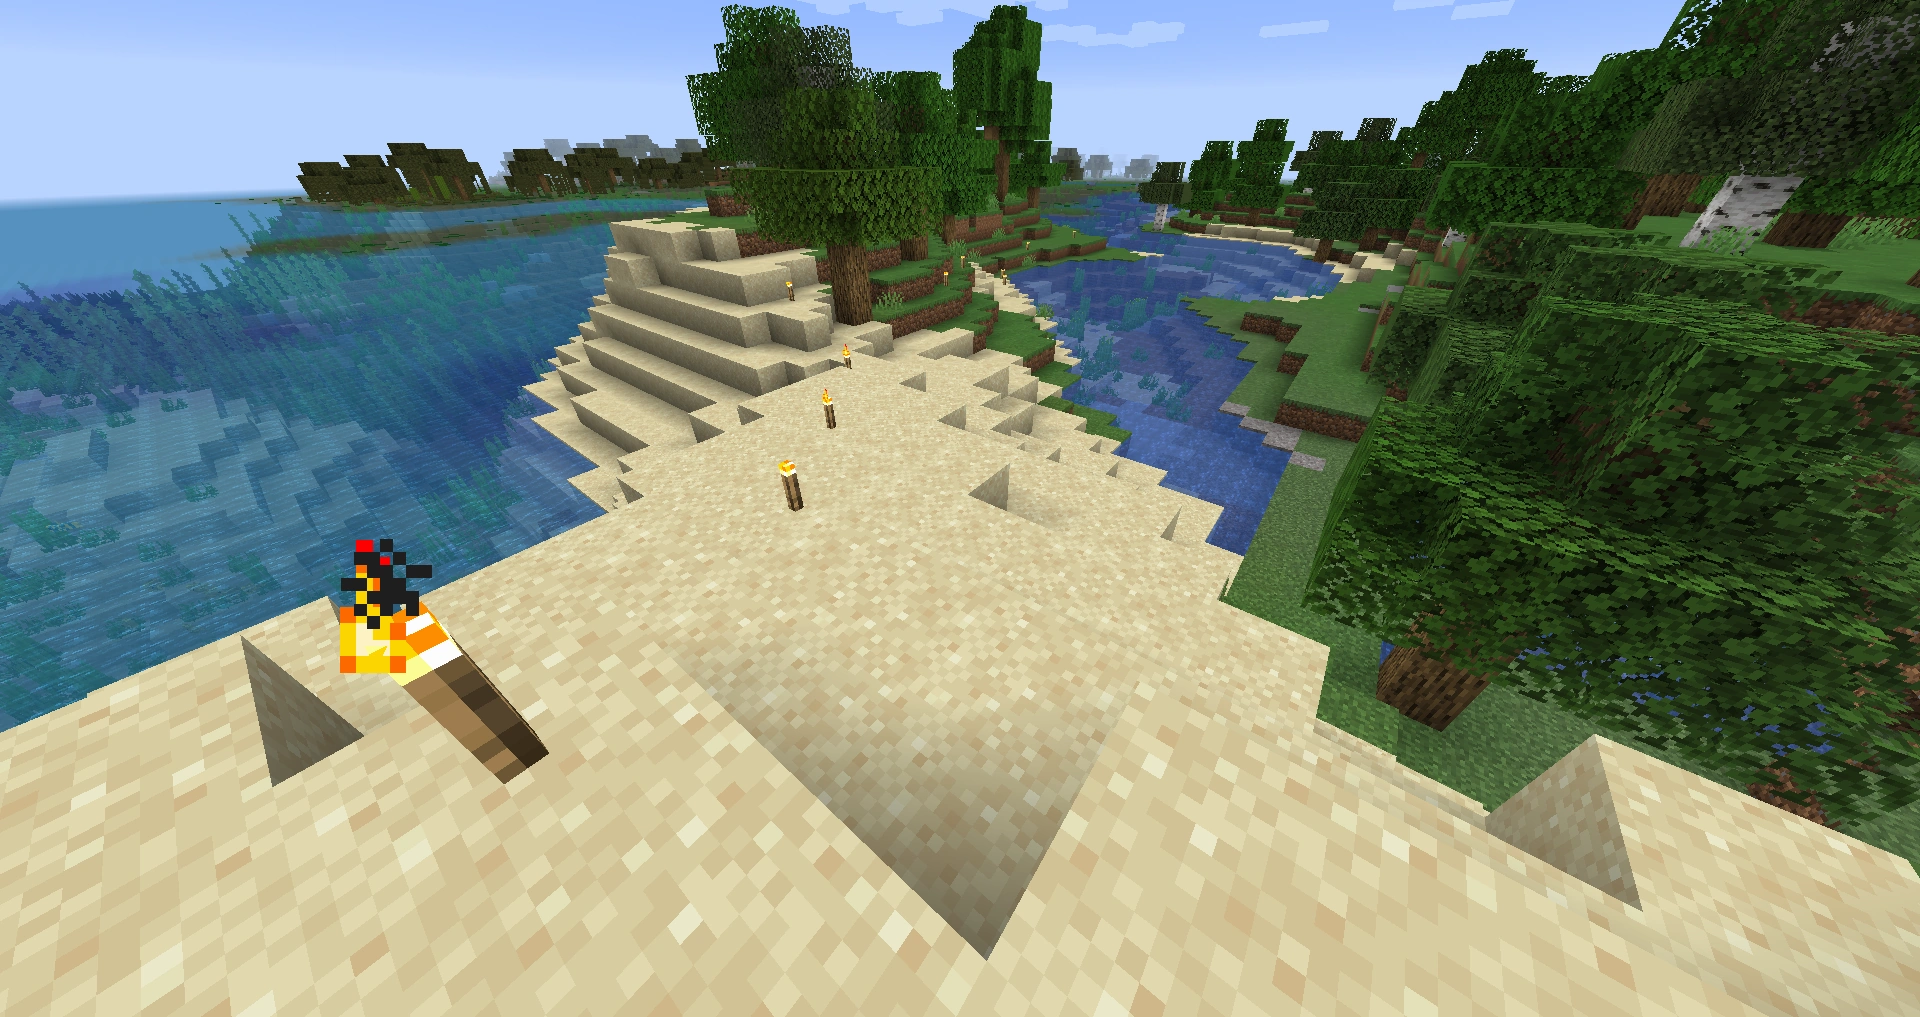
- Torches: offer an easy method of making quick visible markers to follow, and they stop monsters from spawning nearby.
- Jack o'Lanterns: have a face that points in a single direction.
- Signs: While they don't glow, torches illuminate them, and the player can write useful information or ASCII arrows on the sign.
- Wool: A single color or combination can be used to identify the destination (different towns, buildings, or whole biomes). Multiple colors can even show direction.
- Campfires: produce smoke that can be seen from a distance; placing hay bales underneath the campfire increases the height of the smoke.
- Sand: Sand is easily mined, often plentiful, and very visible in most terrain. Placing another block on the ground near a tower of sand is an easy method of showing the right direction.
- Dirt paths: An ideal navigation block for marking a trail when exploring, requiring only a shovel.
- Arrows: simple arrows of off-colored blocks, such as a stone wall with a dirt arrow, can point the way.
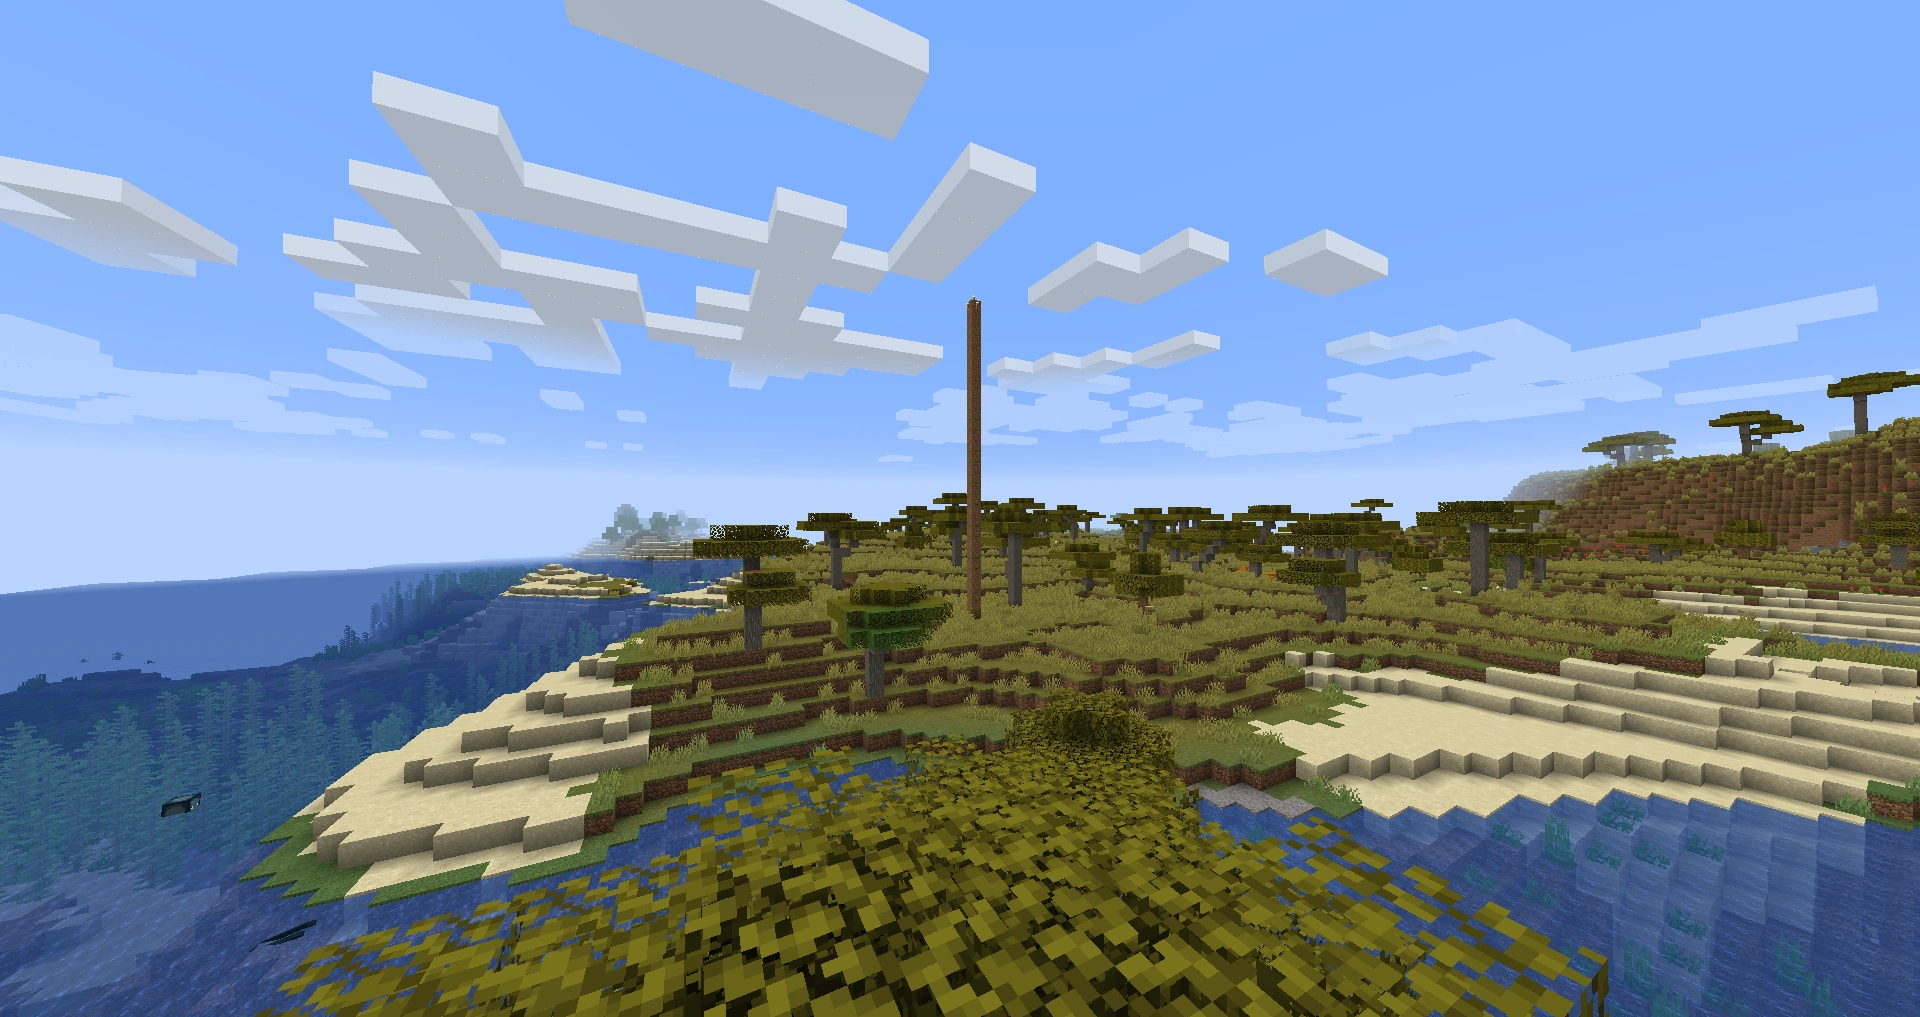
- Pillars: Visible at a distance, can be made of snow, sand, stone, dirt, or other brightly-colored or reflective blocks, then lined with torches or capped with lava or burning netherrack. A quick way to make a tall pillar is to clean the leaves off one or more trees in the area of the landmark or perhaps along a route. No tools are required, and clearing the foliage can help to uncover the landmarks and create paths.
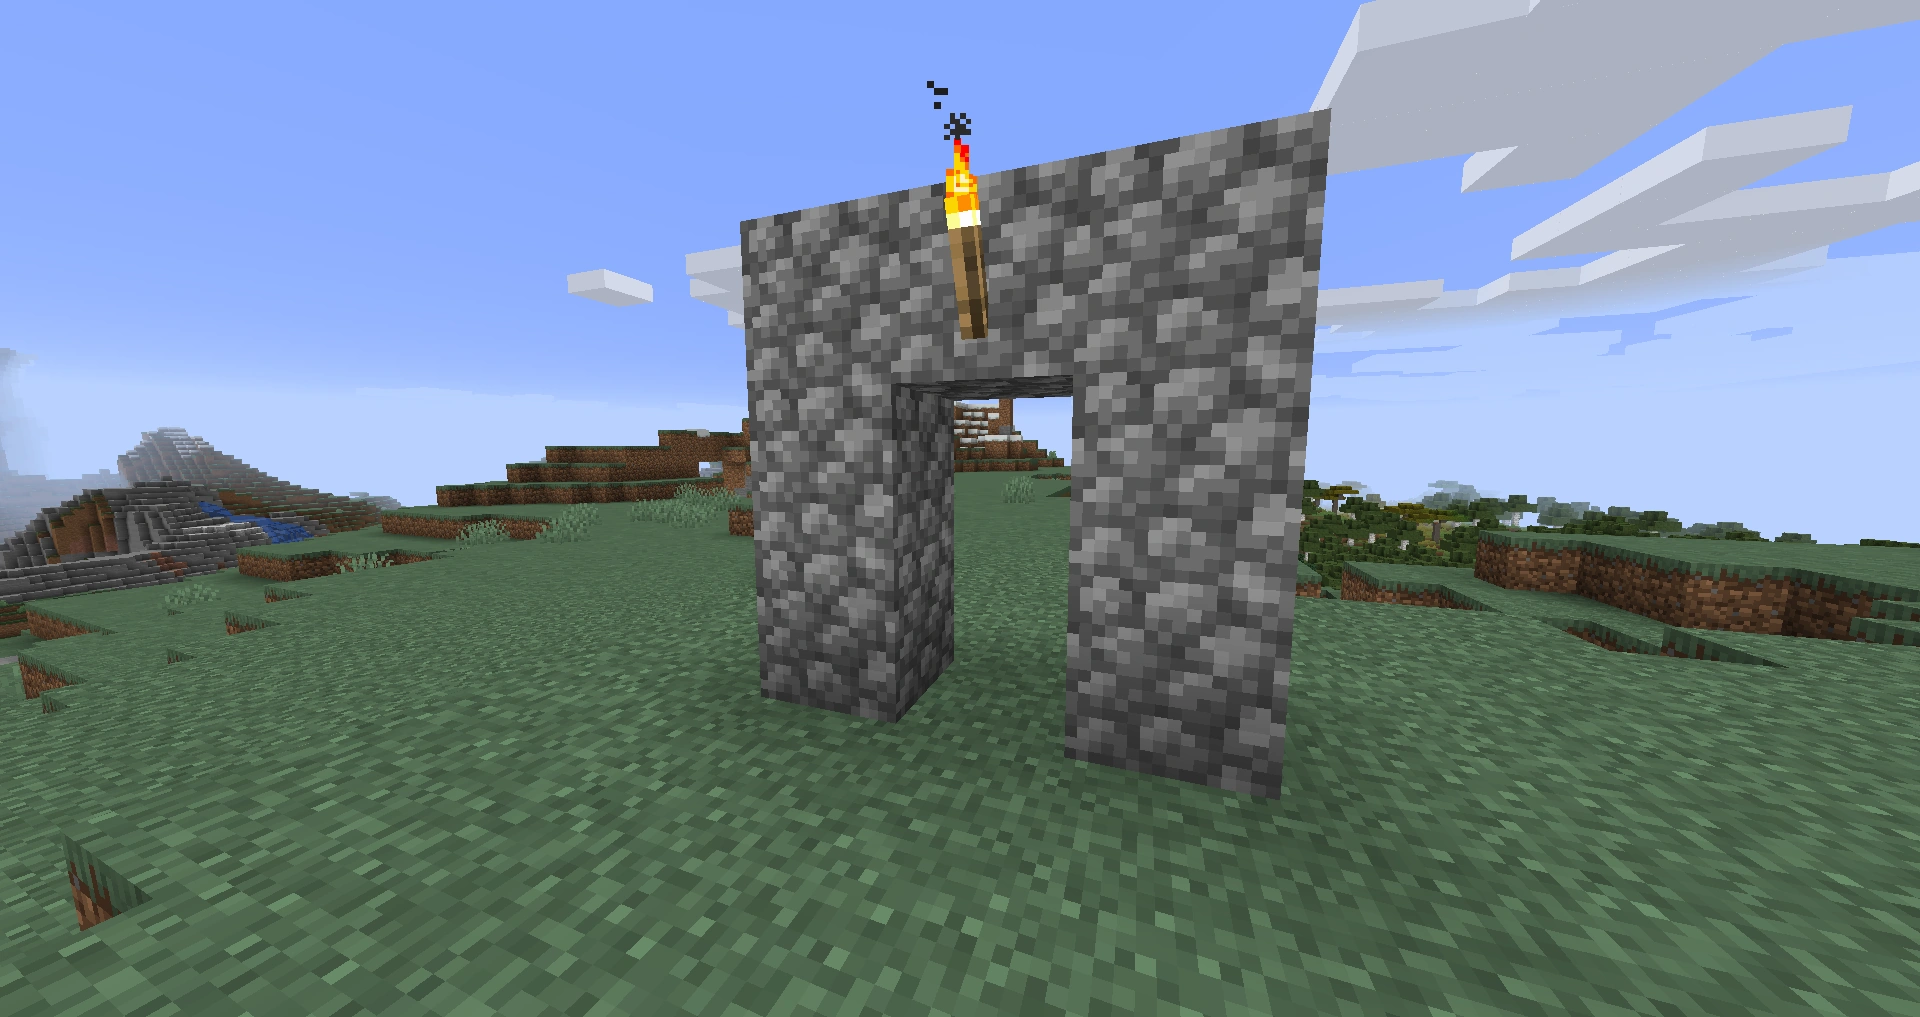
- Gate markers: Two blocks or towers placed next to each other with a one-block space between and an optional arch over the trail. The space between the blocks orients the player to the next gate. A torch or other marker can be placed on the side of one of the blocks to indicate the origin of the trail. It is usually best to build the markers out of something that stands out, like cobblestone or sandstone.
- Putting the base near a village with towers, a desert temple, or some other marker makes it hard to miss at a distance.
Roads and Rails
To connect two locations, dig a two- or three-block wide trench between the two places. This trench can later be filled in to make a nice-looking path or road. Light the pathway to make night travel safer, and fences can be placed along the sides of the road to keep mobs away. To connect the road to more locations, create forks in the road with signs listing the directions to different places. A minecart rails could also be added to speed up travel.
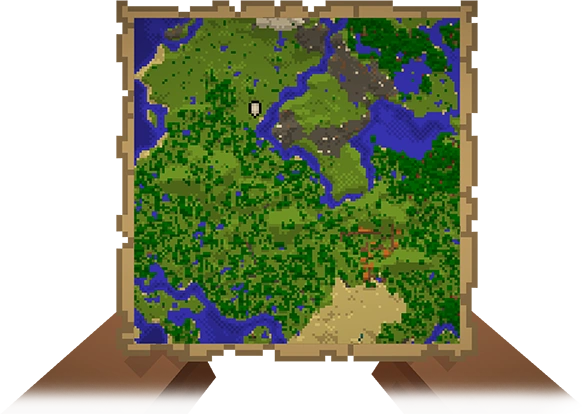
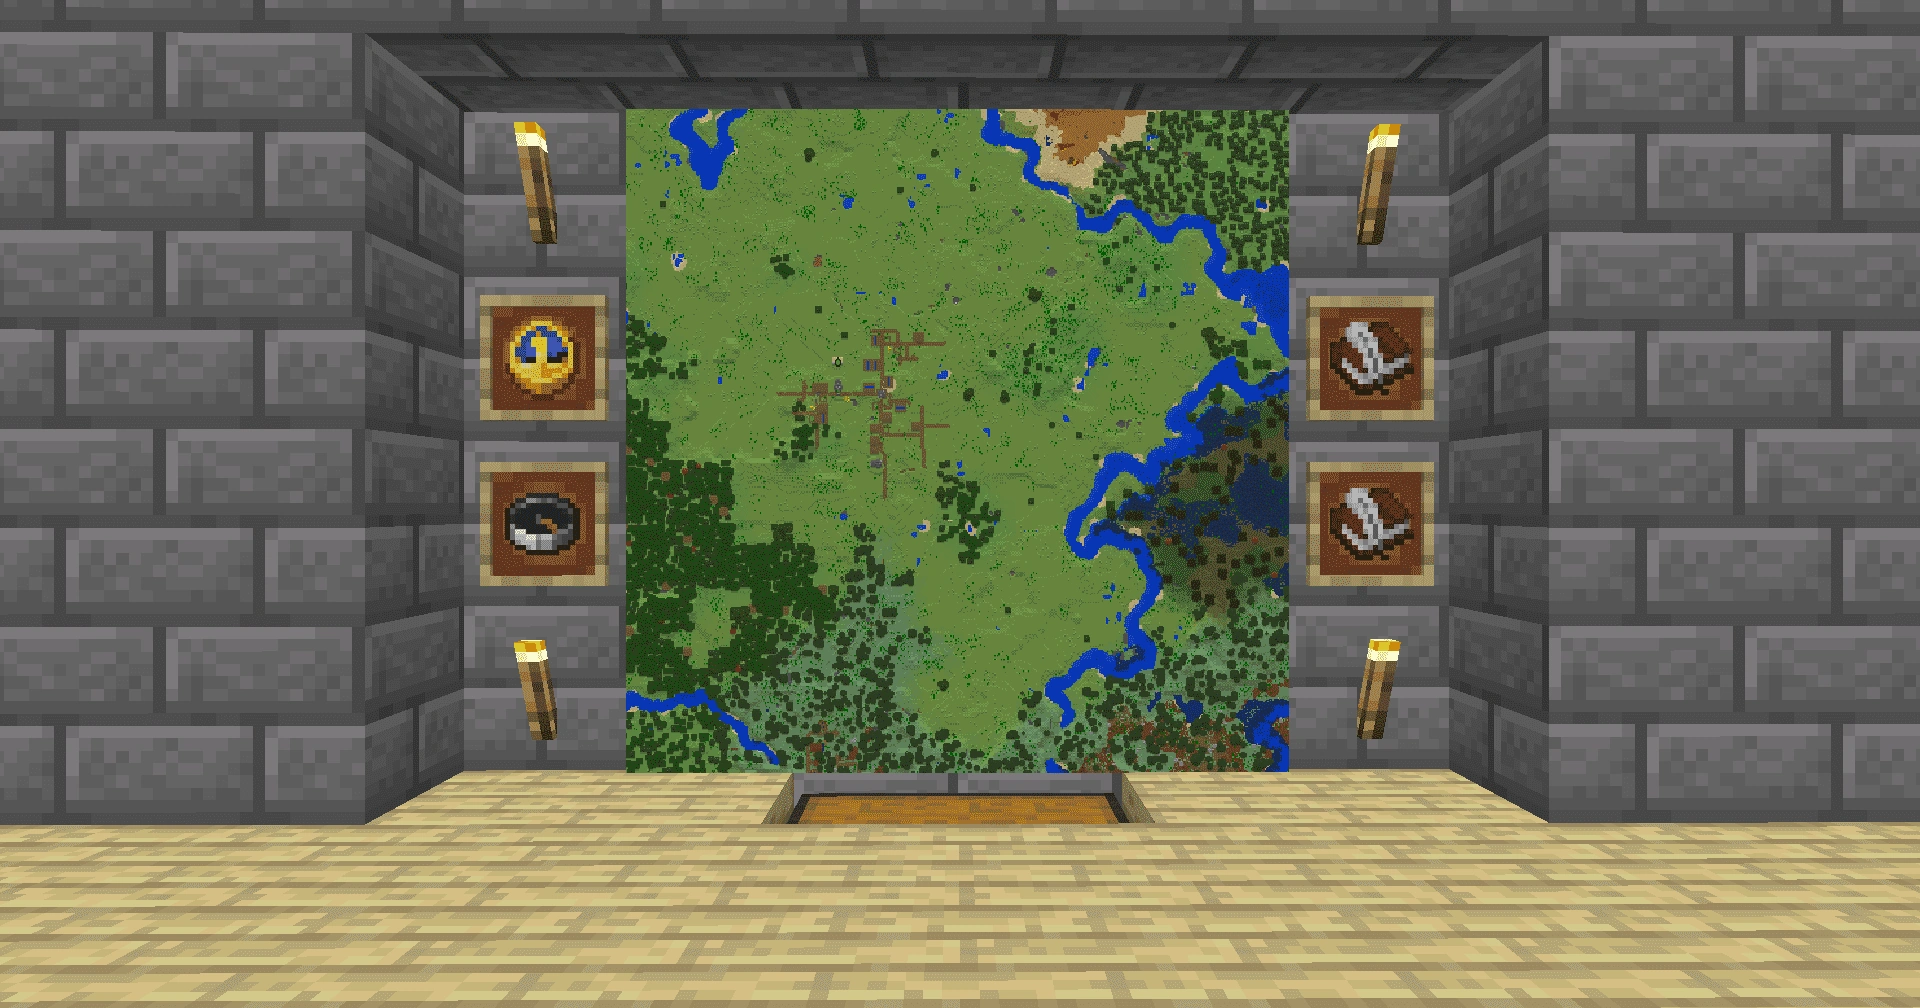
Maps
Main article: Tutorials/Mapping
Maps can be used to keep track of different locations in the world. Maps are not exactly centered on where they are activated, because they snap to a grid. They also start off with a very small scale, and need to be zoomed out to a reasonable scale after activation. Each zoom level takes 1 paper in a cartography table, and doubles the map scale and clears any current contents. The new map remains centered roughly where the previous map was activated. It takes 3 zooms to match the scale of the pre-1.4 maps; the fourth zoom reaches the maximum scale of one chunk per pixel.
Colored banners can be used to mark locations on maps (Java Edition only). In Bedrock Edition, locations can be marked using large structures of colored wool or some other standout material. (You could also simply keep track of the coordinates of different locations on the map.)
Additionally, making a map room of the surrounding area gives you insight of the area around their base and shows points of interest, not to mention looking nice.
-
 A tower marker in the distance.
 -
 A dirt tower covered in lava.
 -
 Some gate markers.
 -
 A simple torch trail.
 -
 A map room.

Both natural caverns and artificial mines can be fairly disorienting without some kind of navigation or trail marking system. Here are some tips to avoid getting lost.
Trail Markers
There are a variety of markers the player can leave behind to make trails, with a somewhat different selection being useful underground.
- Torches: Place all the torches on one side of the cave when entering a new passage. Follow the torches on the other side to find the exit. When the cavern forks, explore the left-most path first, then move to the right until the entire fork has been explored. Torches can also be placed to point back toward the exit.
- Signs: Placed at intersections and marked with ASCII arrows or messages can help keep track of exits, unexplored areas, and more. Signs are cheap, but they stack only to 16, which is why it's always a good idea to have a stack of logs and a crafting table on every mining trip.
- Cobblestone: Rarely occurs naturally, can be used to mark sections that have already been mined. Additionally, arrows made of cobblestone in the floor or walls of caverns can point toward the exit.
- Jack o'Lanterns: Can be placed at intersections with the face pointing toward the exit. This doubles as a light source and a direction out. In cases where there is one path on top of the other one, place the jack o'lantern higher (using piles of gravel or some other temporary block to place it on top of) to indicate the exit is the upper path.
- Netherrack: Conspicuous, easy to obtain, and rarely naturally appears in the Overworld. Netherrack can also be lit to create light and mark completed areas.
- Minecart Rails: Can be used both to mark paths and to transport the player.
- Wool: Different colors can be used to signify different things, such as completed tunnels, unexplored areas, and exits.
- Redstone: Lines and arrows can be made from spare redstone dust, and placing redstone torches nearby can make a lit trail that fades away. This can be used as a directional hint.
- String: Can be placed on the ground to leave a trail behind you.
- Magenta Glazed Terracotta: The arrows in the design can be used to point you in the right direction.
- Mushrooms: Can be found in caves and can be used to leave a trail.
- Quartz stairs: Can renamed and put on glowing item frames so when you move your crosshairs over the arrow you make from turning the stair, text can appear and lead you to where you want to go. : Note, this can only work on 1.17+ and these arrows can be seen in absolute darkness but don't actually give off light
Other hints
- While it does not help in navigating the cave itself, it may be wise to bring a map into a large cave. That way, if you get lost and need to dig your way out, you can navigate back to familiar territory above ground.
- A good mining practice is to fully explore and light a cave system, or at least a whole tunnel, before beginning to mine out any resources. It is extremely dangerous to stop and mine in a dark cave system.
- As part of exploration, try to "clean up" the area, taking off leftover blocks, filling small pits, and generally smoothing things out. In abandoned mineshafts, clear out most of the fence-and-plank "supports" as the player "claims" an area. This improves both visibility and mobility, cutting down on unpleasant surprises.
- Some water flows come from openings in the seafloor. It is possible to mark the entrance with a jack o'lantern, which are generally visible from the sea surface.
- If you get completely lost, dig your way out in a staircase fashion. Listen for sounds of lava and flowing water, and do not break blocks directly above you. If you must dig straight up, make sure to place a torch at your feet to break any sand or gravel that could fall on you. It can be useful to check the map to figure out where you would emerge (for example, you would probably want to avoid coming out underwater).
Here are some helpful tips to avoid getting lost in the middle of large oceans.
- Maps: Very useful in navigating large oceans. Zoom them out to avoid ending up with an entire map covered in blue.
- Jack-o-Lanterns: Can be placed underwater and oriented to show the direction home.
- Lily pads: Can be placed down to form a trail. Can also be used to make small lava islands. Place the lily pad, then use a lava bucket on top of it. This forms a stone island with flowing lava. If you remove the lava, the island can be used as a mini-base, having enough space for a chest, crafting table, and even a bed.
- Towers: Built from the seafloor to well above the surface, and topped with a light source. Glass blocks or panes also carry light into the depths.
- Additionally, consider shaping the waterways, adding canals, and/or constructing a lighthouse to show the way to shore.
Block Orientation
Many blocks are placed at a fixed orientation. Knowing this, it is possible to use the textures on the top faces of the blocks to orientate oneself without a compass. Note that actual block design may vary with resource packs.
| Block | Description |
|---|---|
| Crafting Table | The crafting table texture has just one tool on the southern and eastern sides, and two tools on the northern and western sides. |
| Jukebox | The slot is always directed from north to south. |
| Stone Bricks, Deepslate Bricks, Polished Blackstone Bricks, End Stone Bricks | These brick blocks have a "T" shape on their tops, and the bottom of the "T" always point south. |
| Sunflower | Sunflowers always face east. |
| Planks | The stripes on the top of planks always orient east-west. |
| Farmland | The stripes on farmland always orient north-south. |
| Bedrock | The foliation on bedrock always orients east-west. |
| Observer | When an observer is facing either up or down, and the player sees its face as "correctly oriented", the player is facing south. Also, when facing up or down, there are triangles on only the northern and southern sides. |
| Fletching Table | The feather on top of the block always faces north. |